
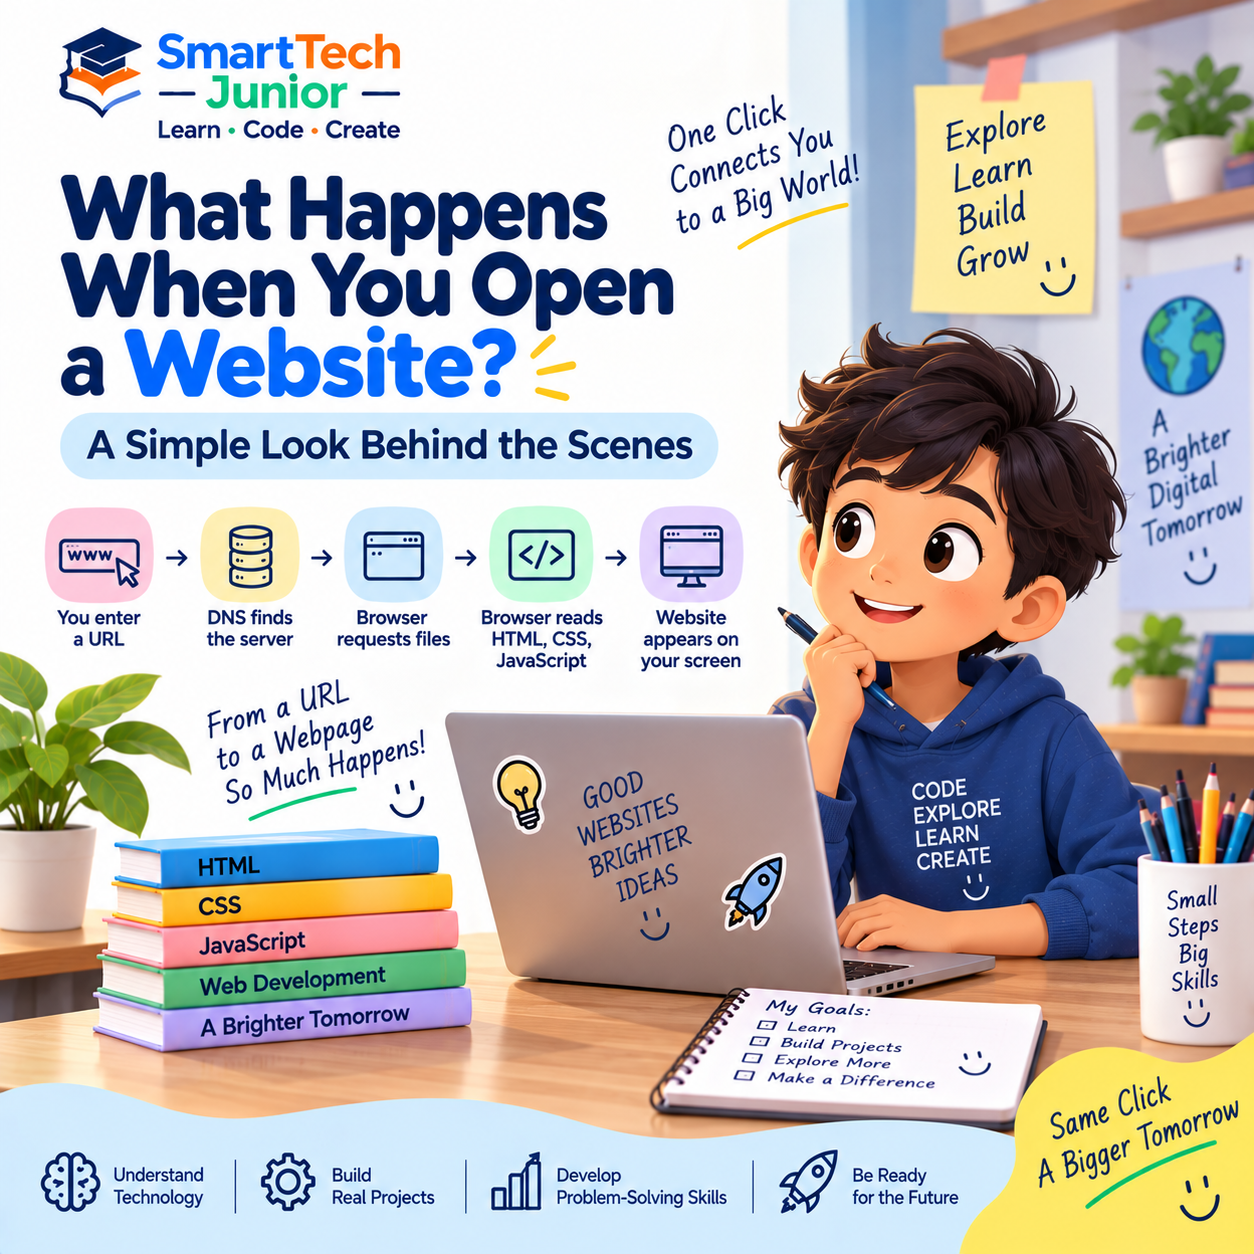
What Happens When You Open a Website? A Simple Look Behind the Scenes
You type a website address into your browser, press Enter, and within seconds a webpage appears.
It may feel instant, but several processes happen behind the scenes before you can see and interact with the website.
Understanding this process gives students a better idea of what web development actually involves.
Step 1: You Enter a Website Address
Everything begins when you enter a website address, also known as a URL, into a browser.
For example, you might type a website address into Chrome, Edge, Firefox, or another browser.
The browser needs to determine where that website is located before it can request the required files.
Step 2: The Domain Name Is Found
Computers communicate using IP addresses, but people generally use easy-to-remember domain names.
The Domain Name System, commonly called DNS, helps connect a domain name with the appropriate IP address.
In simple terms:
Domain Name → DNS → IP Address
This helps the browser find the server hosting the website.
Step 3: The Browser Contacts the Server
Once the browser knows where to send the request, it communicates with the website's server.
The browser essentially asks the server for the resources needed to display the requested webpage.
The server processes the request and sends information back.
Step 4: The Server Sends Website Files
A website can contain different types of files.
Some of the most important ones include:
- HTML – Provides the structure and content.
- CSS – Controls the appearance and layout.
- JavaScript – Adds behavior and interaction.
- Images and other media – Provide visual content.
The browser receives these resources and begins processing them.
Step 5: HTML Creates the Structure
HTML tells the browser what elements should appear on the page.
For example, HTML can define:
- Headings
- Paragraphs
- Images
- Links
- Buttons
- Forms
Think of HTML as the structure of a webpage.
Without it, the browser would not know how the content should be organized.
Step 6: CSS Adds the Design
Once the browser understands the page structure, CSS helps determine how those elements should look.
CSS can control:
- Colors
- Fonts
- Sizes
- Spacing
- Layout
- Backgrounds
- Responsive design
This is what transforms a basic collection of HTML elements into a visually designed webpage.
Step 7: JavaScript Adds Interaction
A website doesn't have to remain static.
JavaScript allows developers to make webpages respond to user actions.
For example:
Click a button → Display information
Submit a form → Validate the input
Select an option → Update the page
JavaScript can make a webpage interactive and dynamic.
Step 8: The Browser Builds the Page
The browser now brings everything together.
It processes the HTML, applies the CSS, executes JavaScript when necessary, and loads other resources.
The result is the webpage that appears on your screen.
What looks like one page is actually the result of multiple technologies working together.
Step 9: You Interact with the Website
Now you can scroll, click buttons, enter information, watch videos, submit forms, and interact with different features.
Some interactions may cause the browser to communicate with the server again.
For example, logging into an account may involve sending information to a server, checking the details, and receiving a response.
What Happens When You Click Something?
Imagine clicking a Login button.
A simplified process could be:
Click → JavaScript/Form → Request → Server → Processing → Response → Updated Page
This is one reason modern websites can behave more like applications than simple documents.
Website vs Web Application
A basic website may primarily provide information.
A web application allows users to perform actions and interact with data.
Examples include:
- Online learning platforms
- Shopping systems
- Booking applications
- Email services
- Online banking
- Productivity applications
As students progress in web development, they can move from creating simple pages to understanding how interactive web applications work.
Why Should Students Understand This?
Learning how websites work can change the way students look at the internet.
Instead of simply seeing a webpage, they can start asking:
How was this built?
What happens when I click this button?
Where does this information come from?
How does the browser display it?
These questions encourage curiosity and help students develop a deeper understanding of technology.
A Simple Technology Journey
The entire process can be simplified as:
Type URL → Find Server → Request Files → Receive Response → Process Code → Display Website → User Interaction
Each stage involves different technologies working together.
Learning Web Development Through Projects
Students can understand these concepts more effectively when they apply them to projects.
They can begin with simple webpages and gradually explore:
- HTML
- CSS
- JavaScript
- Forms
- Interactive features
- APIs
- Databases
- Web applications
Building projects helps students see how individual concepts fit into a complete system.
Exploring Web Development at SmartTech Junior
At SmartTech Junior, students can explore web development through practical learning and project-based activities.
By working with HTML, CSS, and JavaScript, learners can understand how websites are structured, designed, and made interactive.
As their skills develop, they can move from creating basic webpages toward building more engaging digital projects.
Conclusion
The next time you open a website, remember that the page you see is the result of many processes working together.
A browser finds the website, communicates with a server, receives resources, processes HTML, CSS, and JavaScript, and finally presents the result on your screen.
For students learning web development, understanding what happens behind the scenes is an important step toward becoming someone who can build those experiences themselves.